
If you not familiar with Oracle Cloud, want to try it and need an easy steps to configure it..! Please find the details. Here I will provide the easy step by step approach to have your free Oracle Cloud account with your first Virtual Machine Running..
STEP 1 : Signup Oracle Cloud
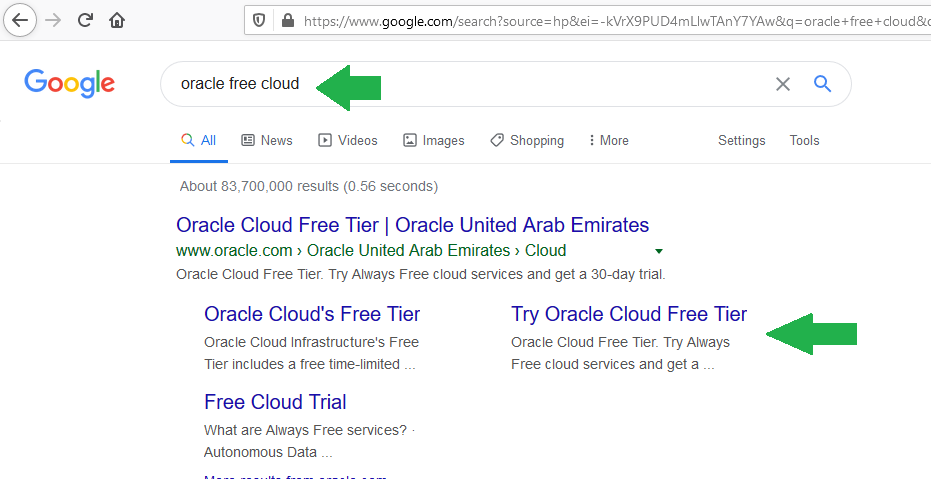
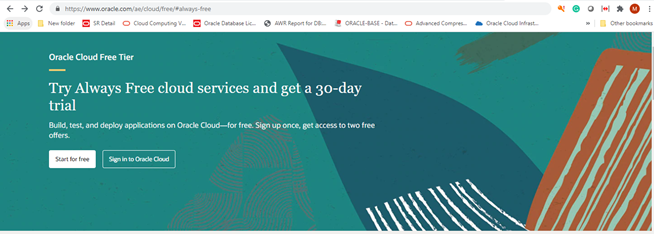
www.google.com -> “Oracle free Cloud ” > Try Oracle Cloud Free Tier
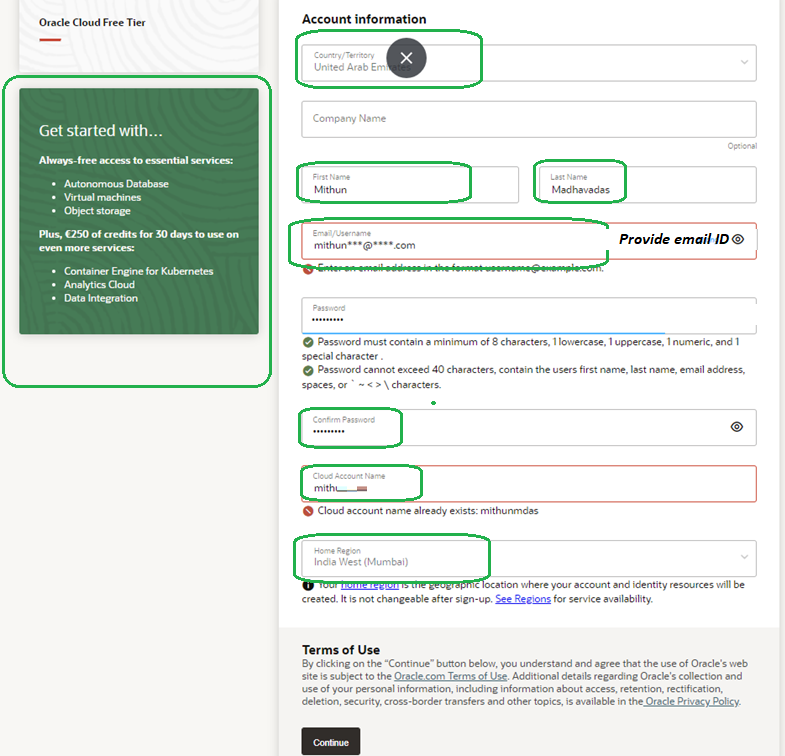
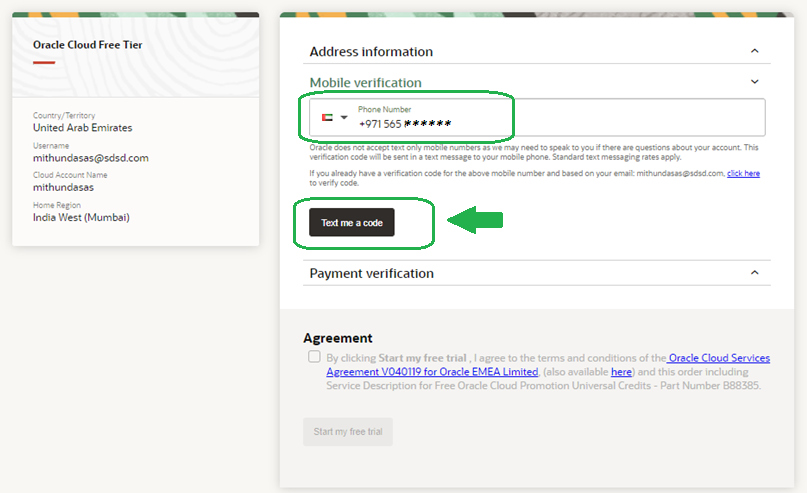
Provide the Account Information, Here i have selected Cloud region India West (Mumbai)
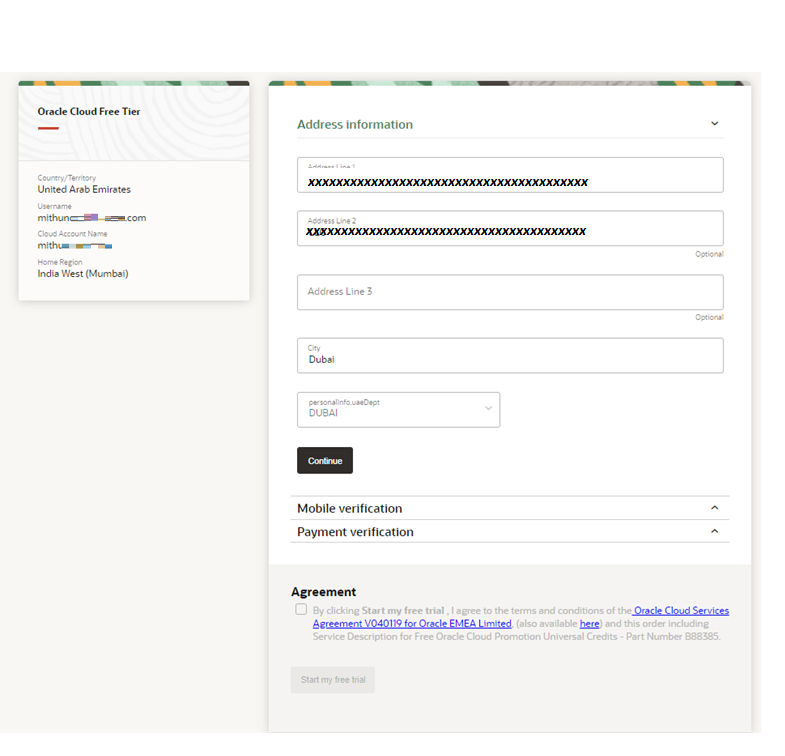
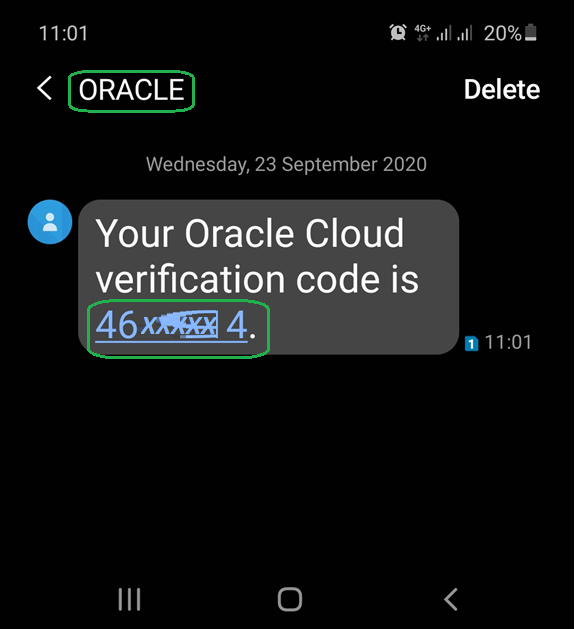
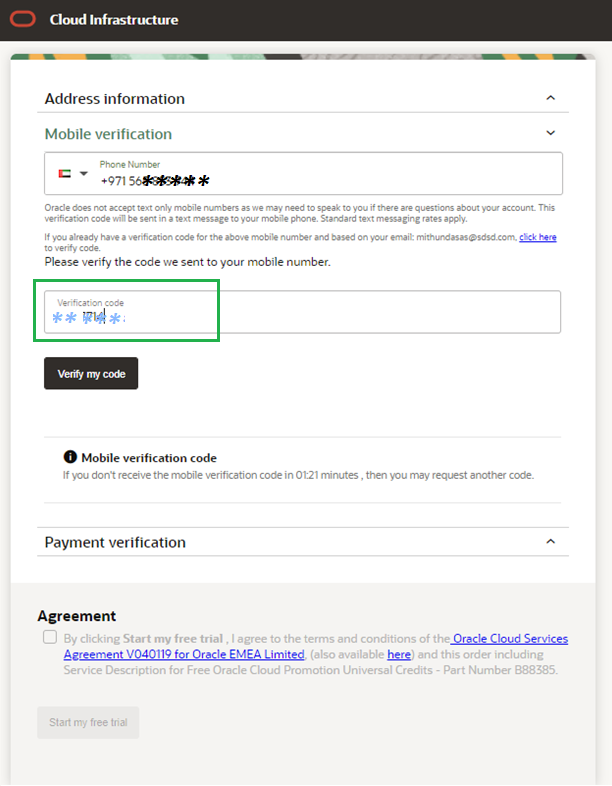
Do the Mobile verification, you will receive verification code on the mobile number provided
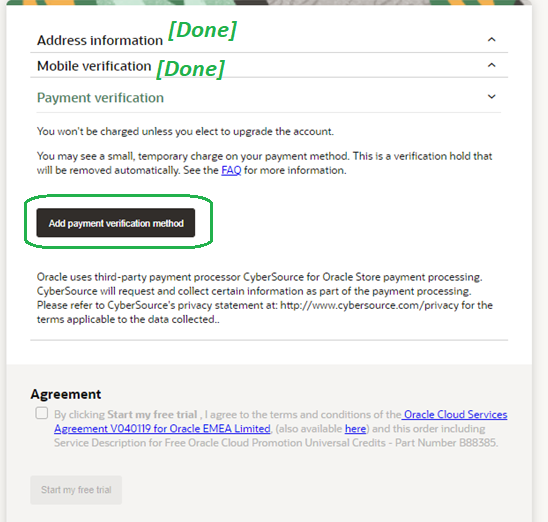
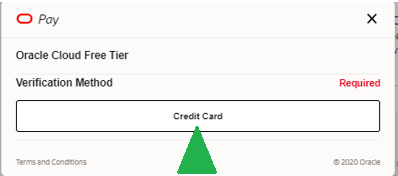
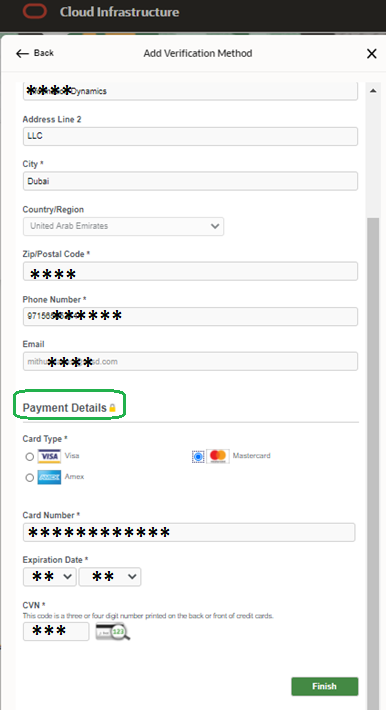
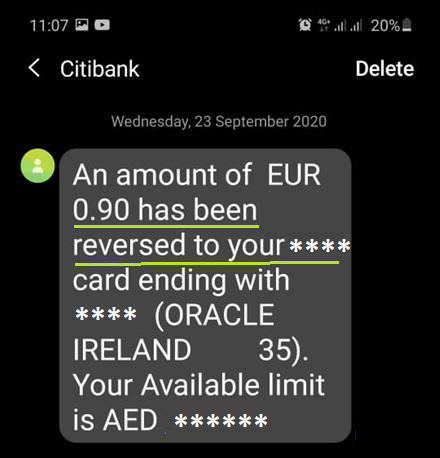
For free account you need to provide credit card details and validate, initially 1 USD will be charged which will then reverse back to the account. So No Worries 😀
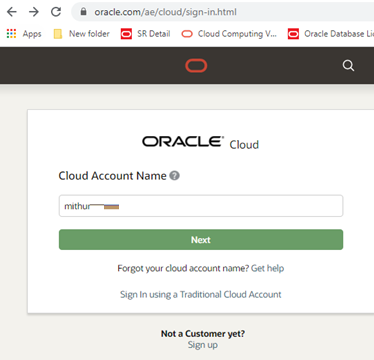
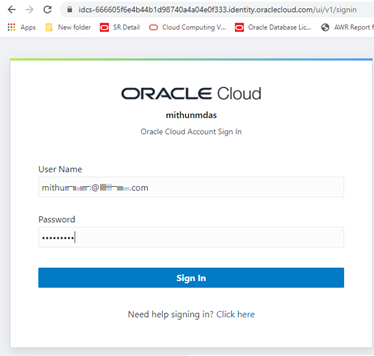
STEP 2 : Login to oracle cloud account

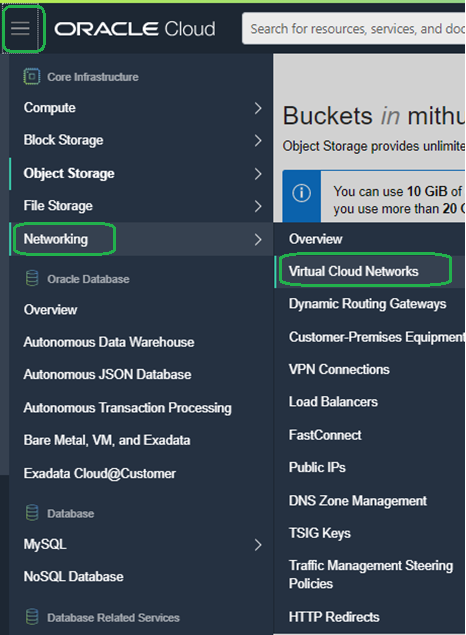
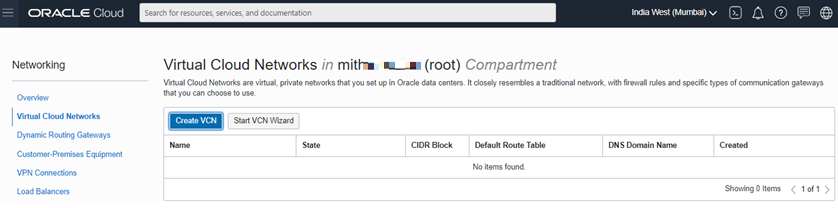
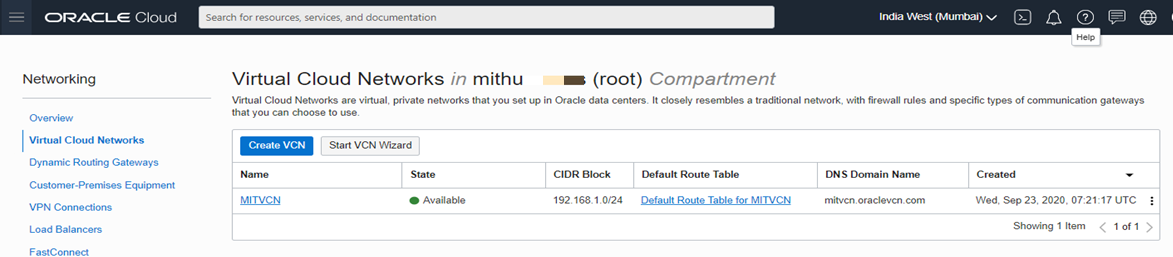
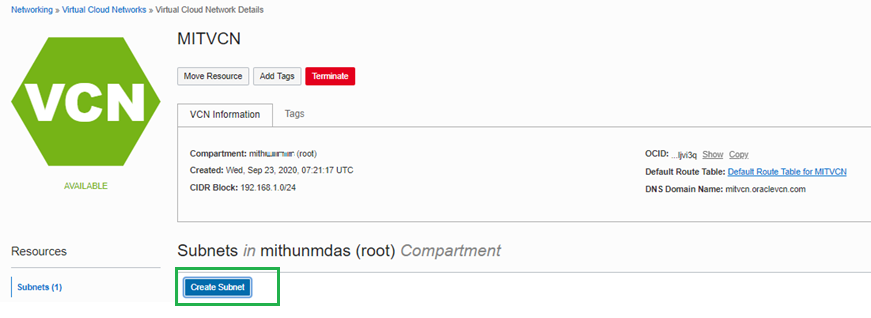
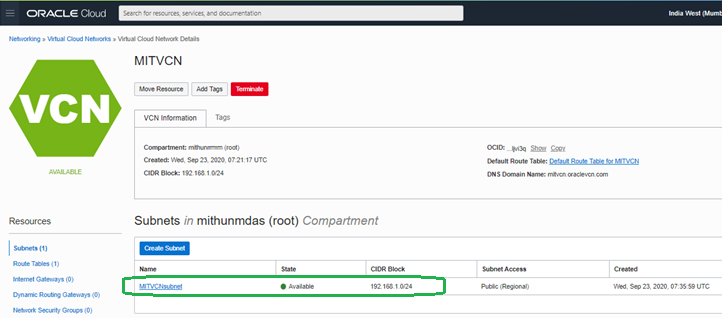
STEP 3 : Create a Virtual Cloud Network (VCN)
Use the top-left menu to “Networking > Virtual Cloud Networks” option.
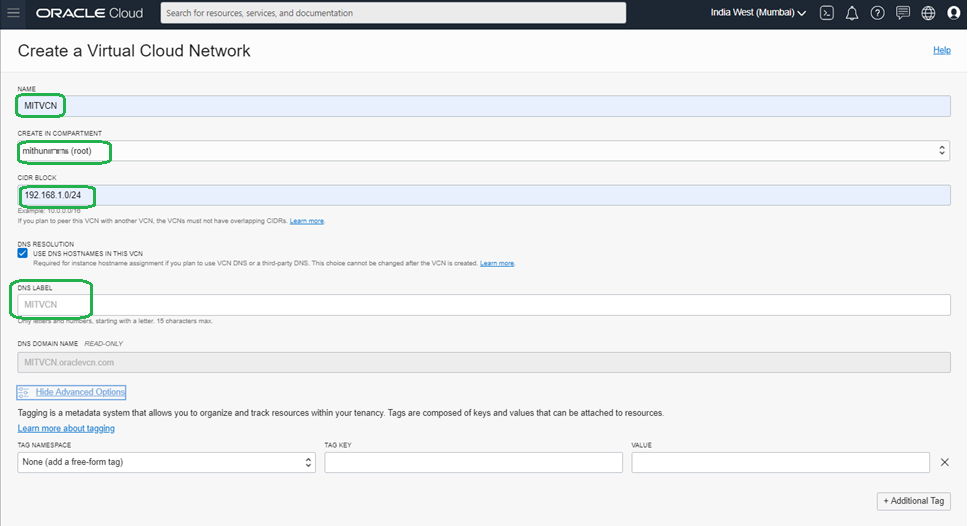
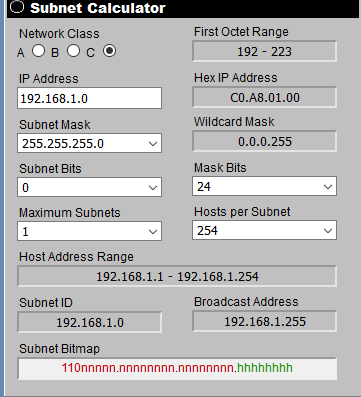
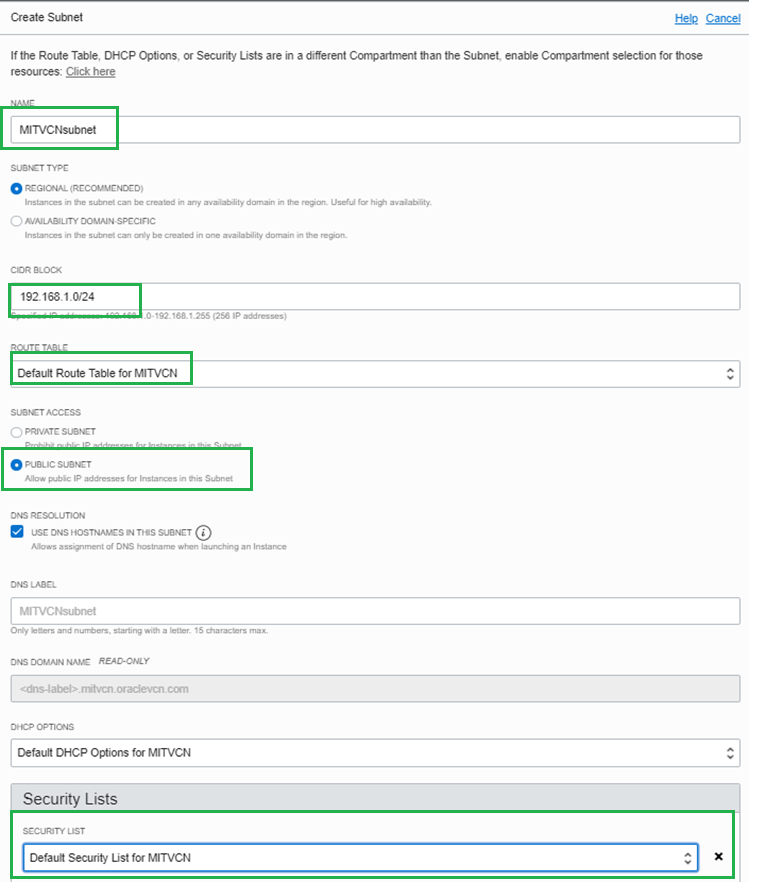
For CIDR block here i given 192.168.1.0/24, Which means i can use private IP range between 192.168.1.1- 192.168.1.254, You can use http://www.subnet-calculator.com/ to calculate yours
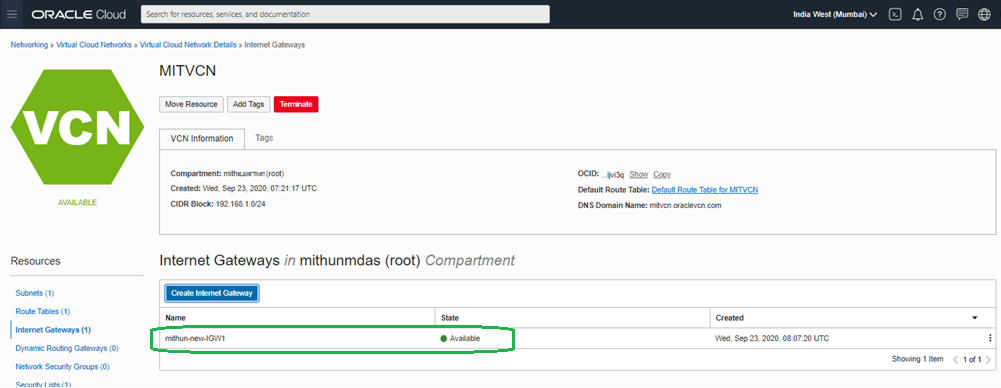
STEP 3 : CONFIGURE INTERNET GATEWAY
Click on Internet Gatewaty > Create Internet Gateway on current VCN page(Virtual Cloud Network)


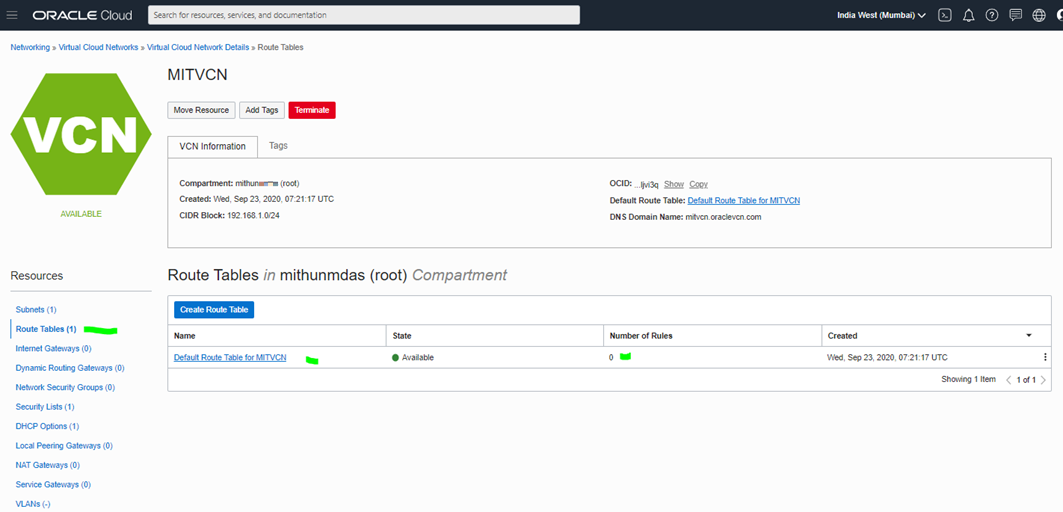
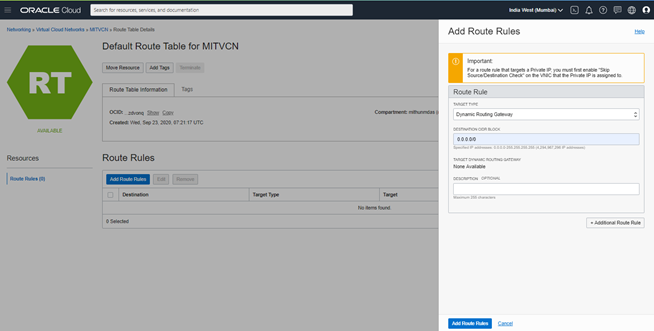
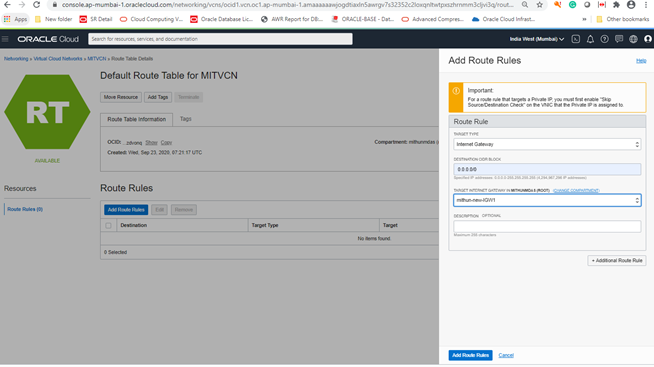
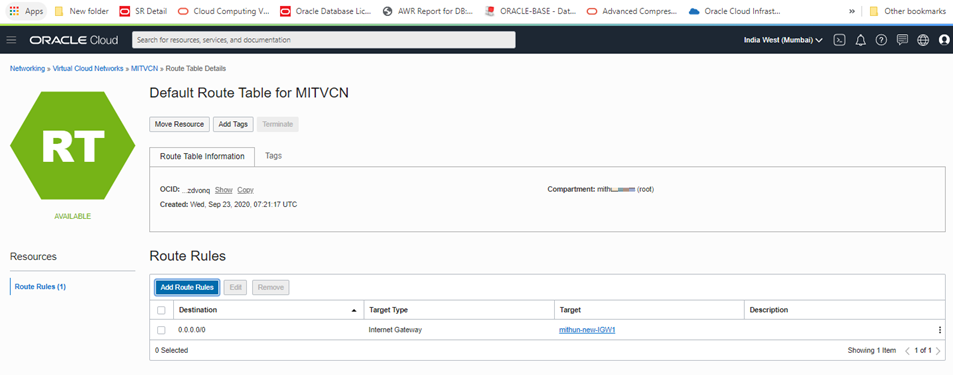
STEP 4 – ADD ROUTE TABLE
On VCN page Click on Route Tables > select Default route table Default Route Table for MITVCN
STEP 5 – ADD SECURITY LIST
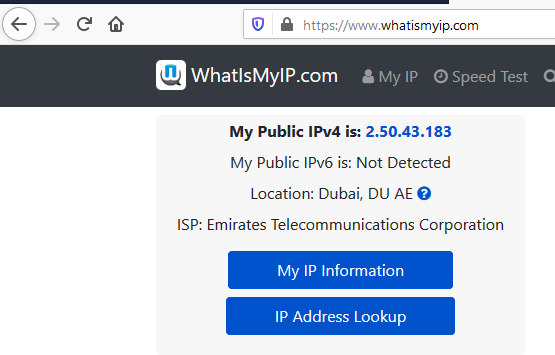
Check Your PUBLIC IP on google and White list your Public IP address to access the Cloud VM that you will be creating on Cloud from your PC.
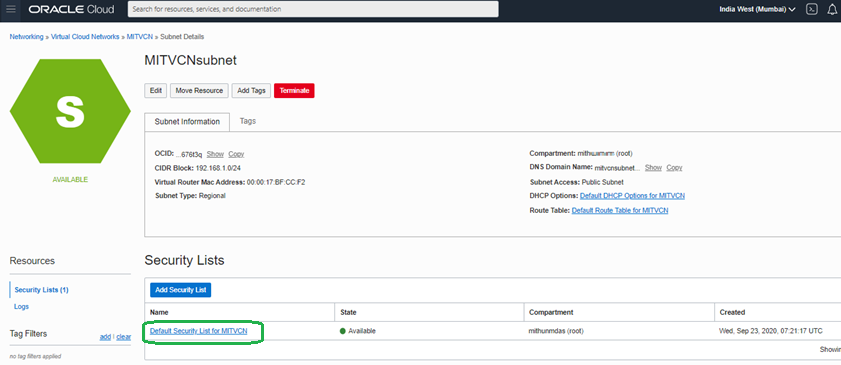
Click on VCN (MITVCN) > Subnet (MITVCNsubnet) > Security List(Default Security List for MITVCN)

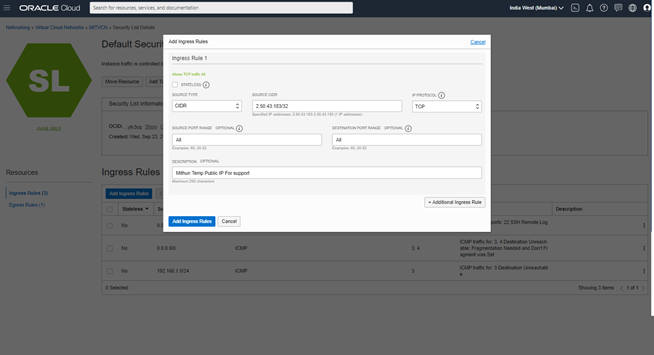
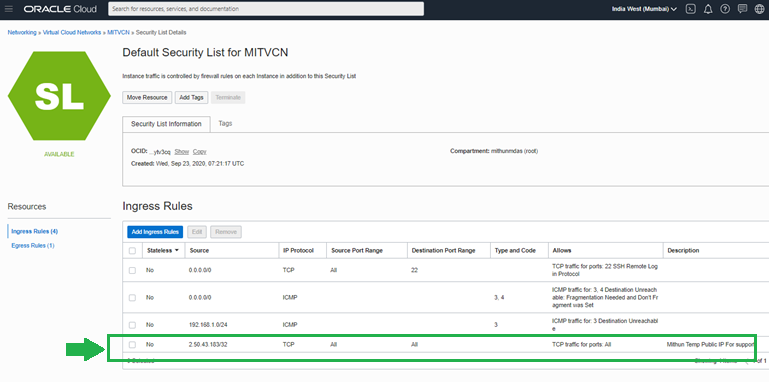
Now my IP has been whitelisted, I will now be able access to access VM from the PC once VM’s are created. Since public IP is dynamic, changes when i take my laptop to office and home, so to access VM will check the current IP of the system and update in the security list. Click on the three dots to edit and update in future.
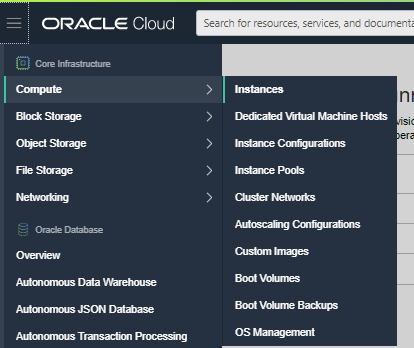
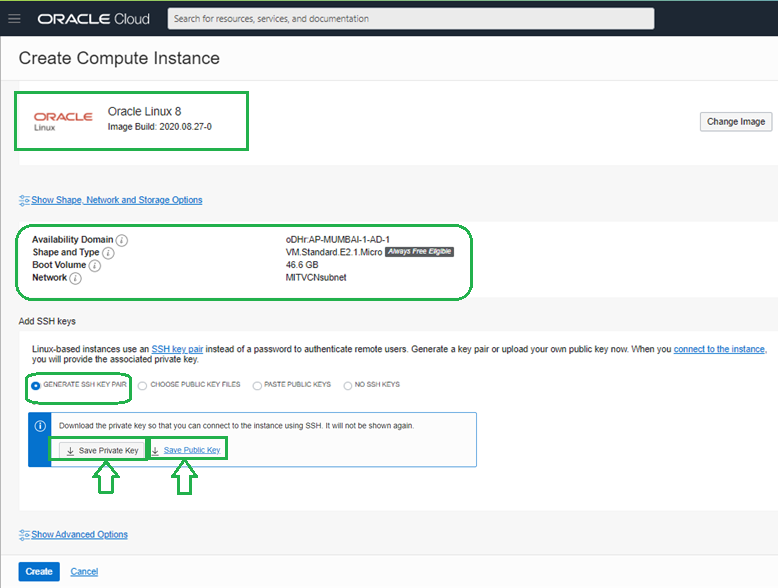
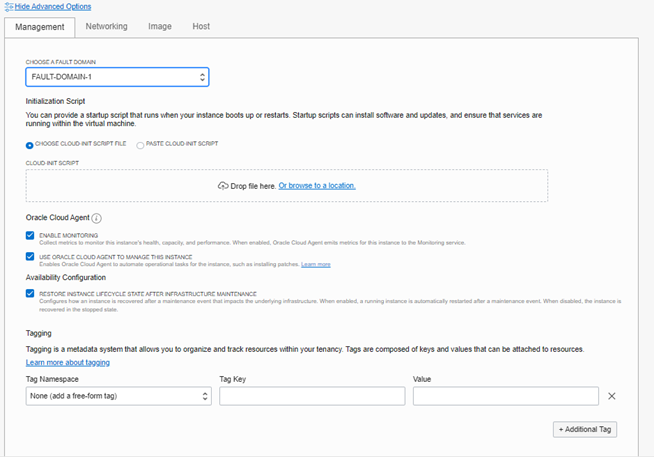
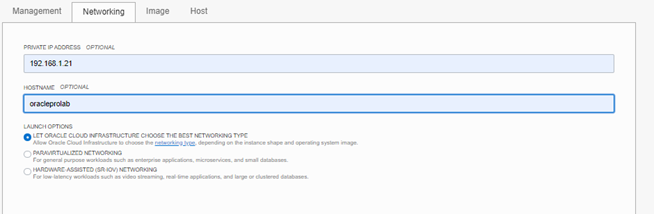
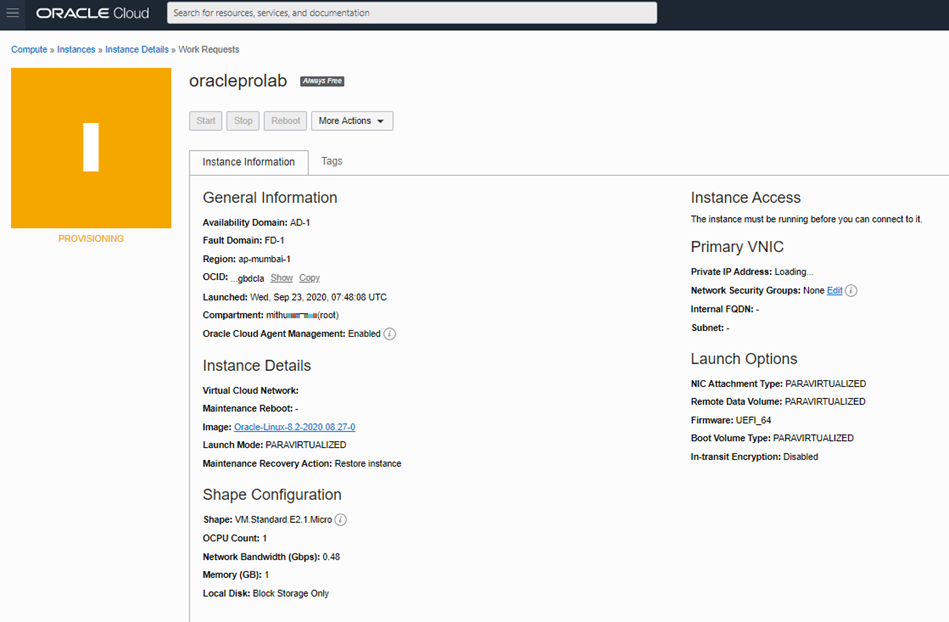
STEP 6 – CREATION VIRTUAL MACHINE
Now will create Oracle Linux 8 Virtual machine

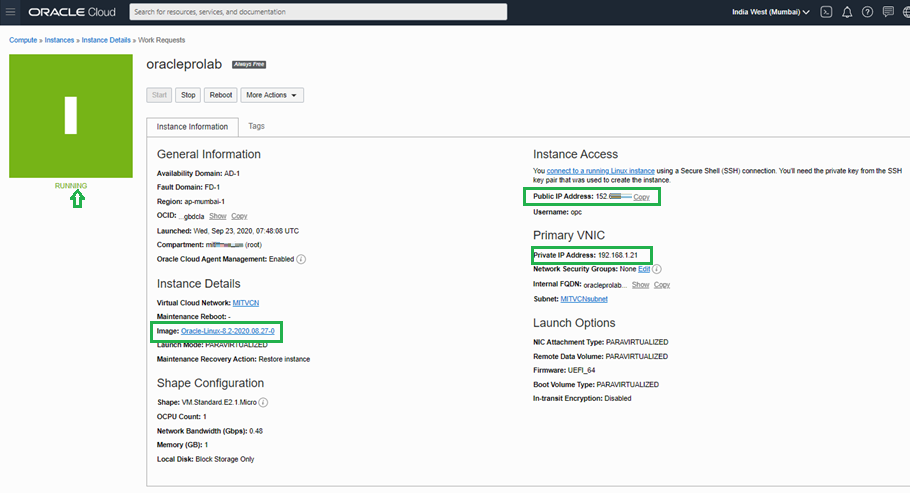


STEP 7 – ACCESS VIRTUAL MACHINE
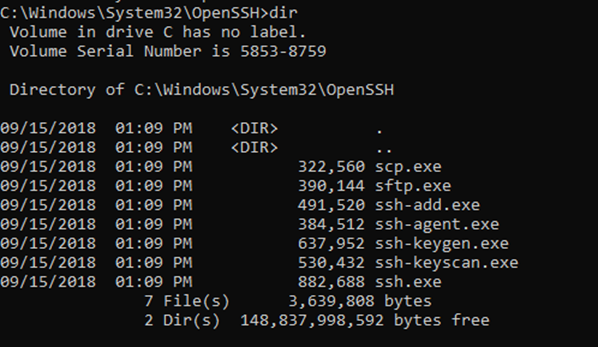
I have installed OPENSSH on my windows machine, will be accessing the VM created on cloud from the windows command prompt
https://docs.microsoft.com/en-us/windows-server/administration/openssh/openssh_install_firstuse
Below details are required to access
Private.ppk Private key generated during instance creation time
OPC- Linux OS USer
152.*.*.112 – Pulic IP IP Address of Virtual Machine –
C:\oracleprolab>ssh -i “C:\Users\madhavadas\OneDrive\DBA_Dubai\AA_Learns\oracleprolab\oci\Private.ppk” opc@152.*.*.112
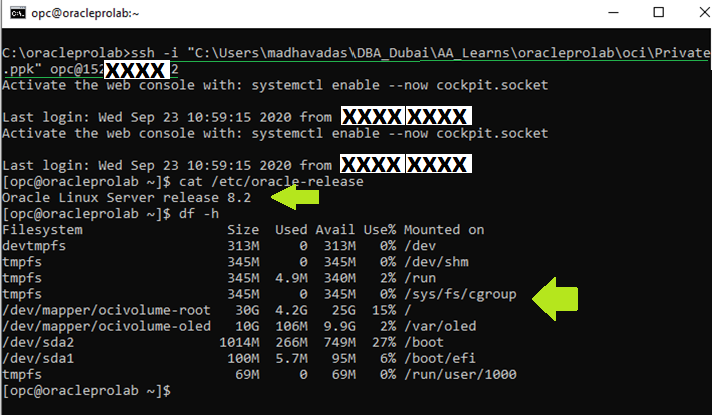
Login as root user and check

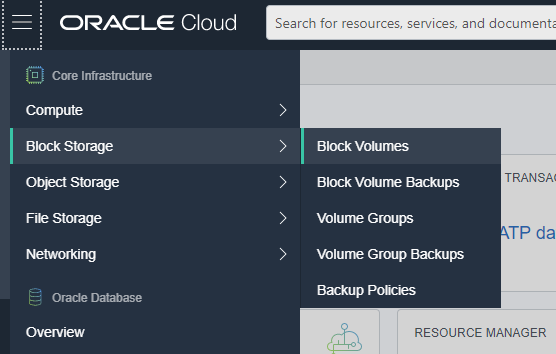
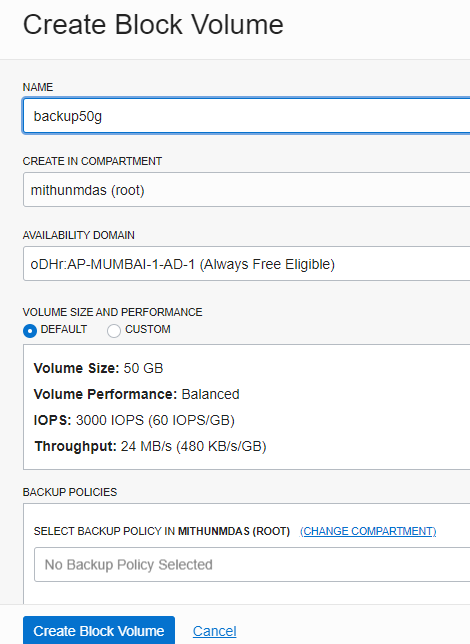
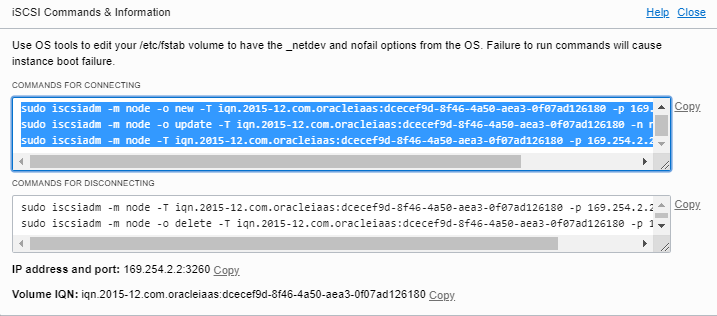
BONUS – Create Block Volume and attach to the Instance created
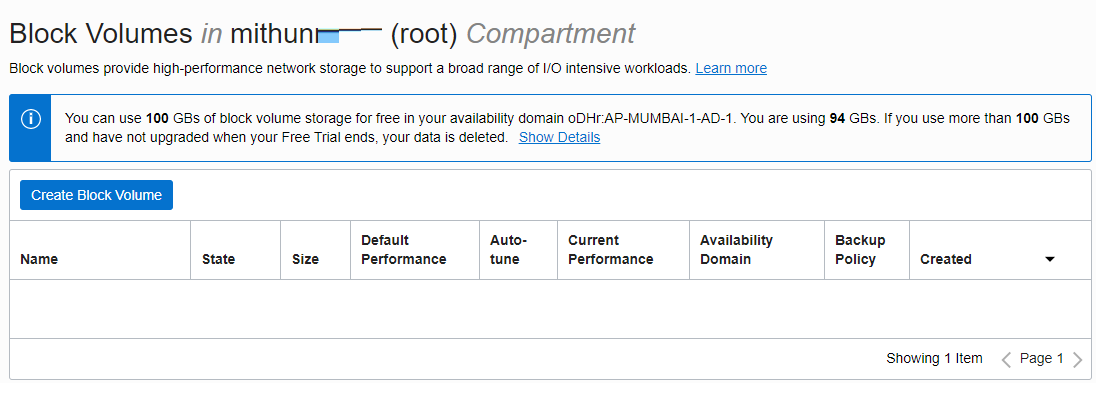
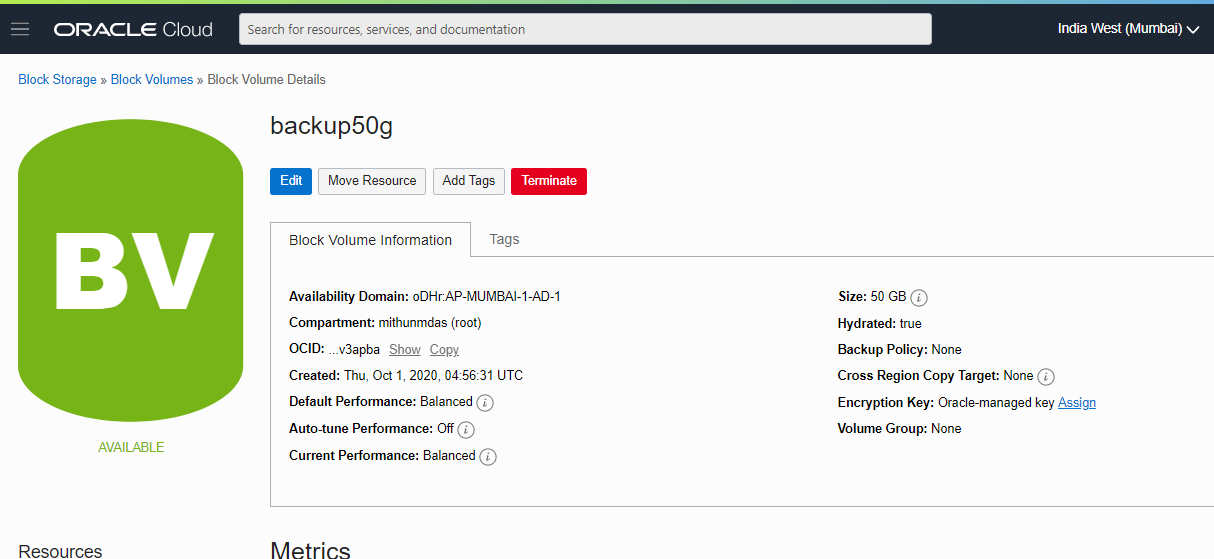
Oracle is providing some block volume storage for free which can be used, Here we will create a block volume and attach it to the VM instance we have just created above .
Click on the top-left menu >”Block Storage > Block Volumes
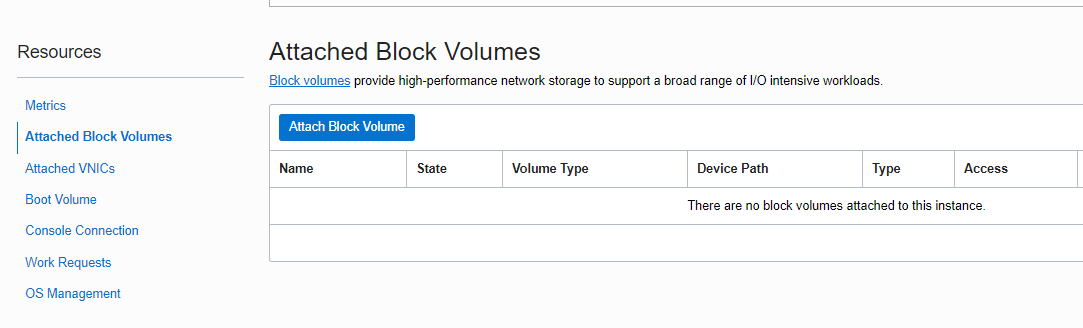
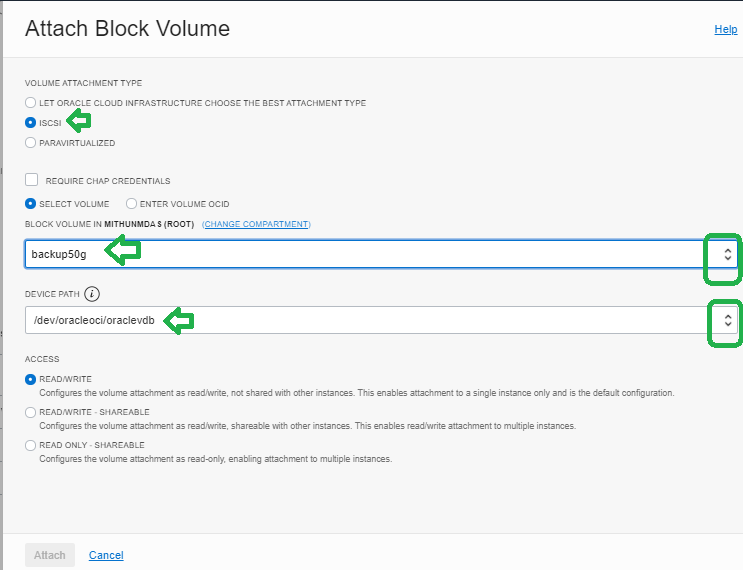
Mount the Block Volume to VM
Click on Top Menu > Compute > Instances > (click on the Instance to add vol ) oracleprolab1 > (On Resources Click) Attached Block Volumes > Attach Block Volume


FORMAT AND USE THE VOL
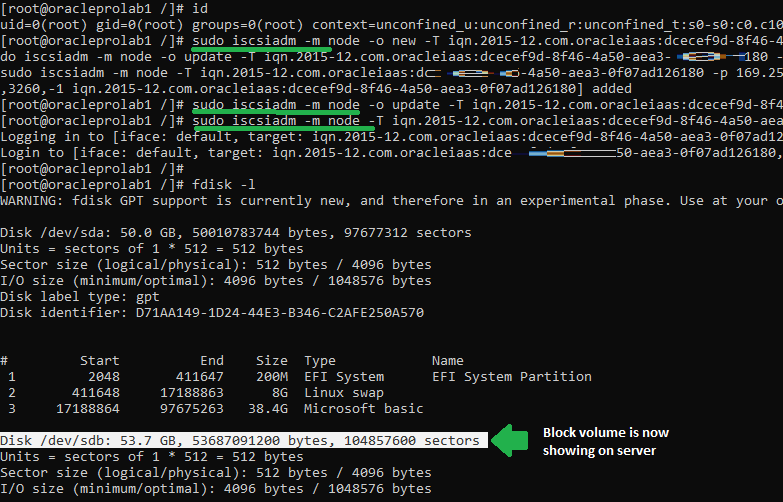
fdisk -l
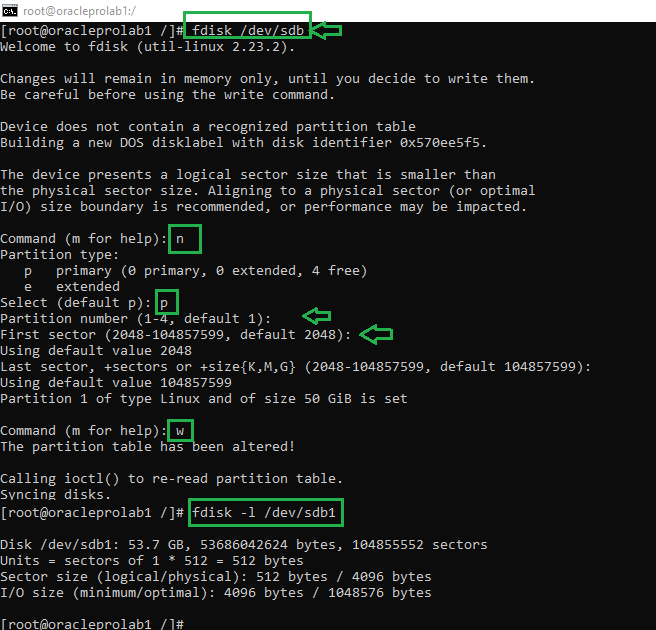
fdisk /dev/sdb
fdisk -l /dev/sdb1
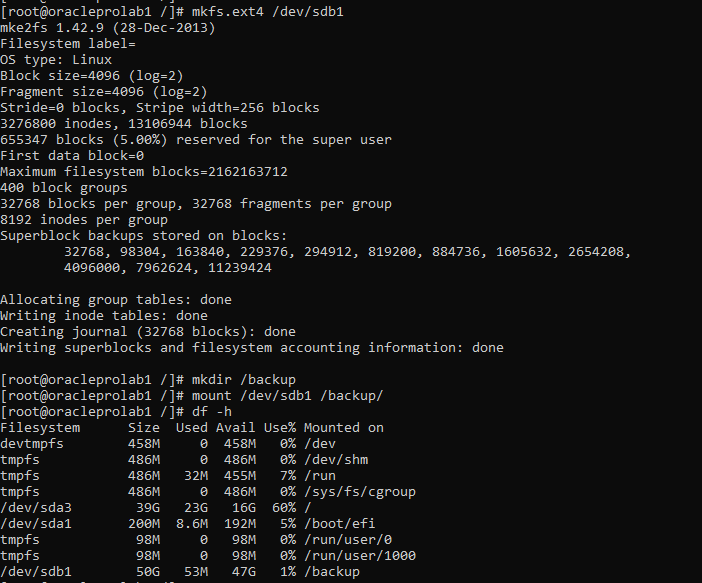
mkfs.ext4 /dev/sdb1
mkdir /backup
mount /dev/sdb1 /backup/
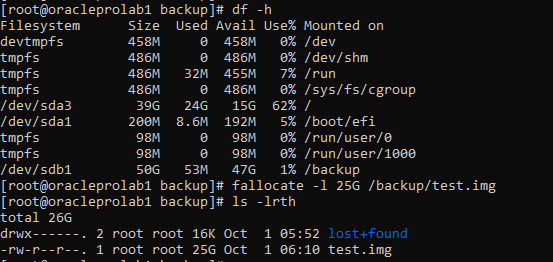
df -h
Creating a large file on a Linux using fallocate command and test
Good one
Usually I never comment on blogs but your blog is so good that I want to comment it. Good Job and keep it up
Hi Mithun,
i am facing issue in creating OCI free tier account from India please help me if you are available.
Thanks and Regards
Piyush Dubey
piyushnit77@gmail.com